
Quick start
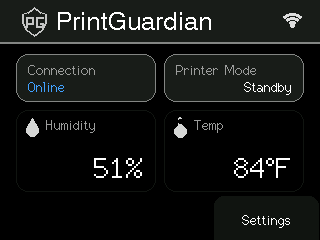
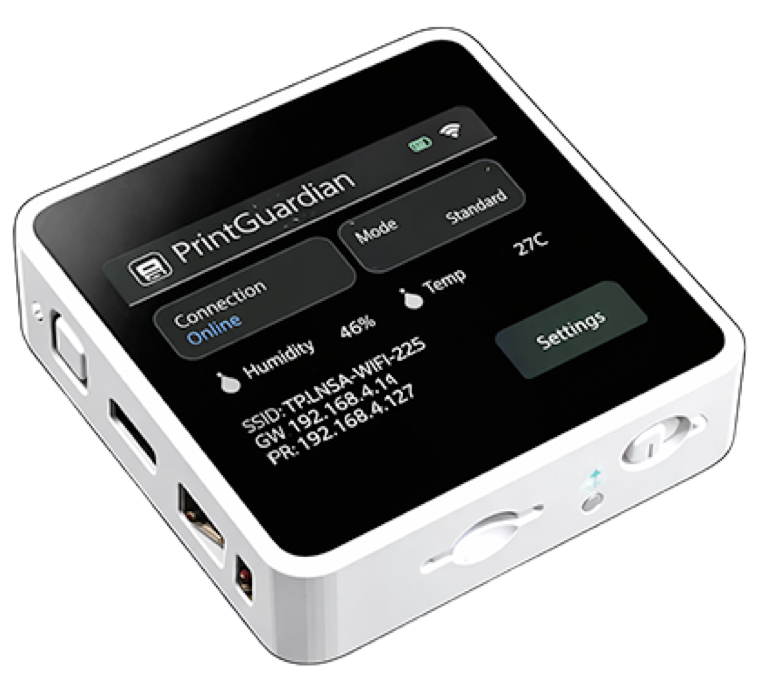
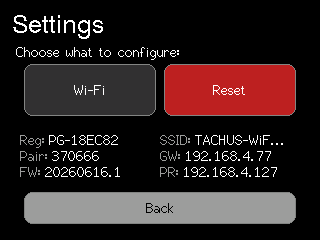
The images above show PrintGuardian in a typical connected dashboard state, the PrintGuardian M5 gateway, the Settings/Reset screen, and the app Settings screen after pairing.
Start here when you are setting up PrintGuardian for the first time.
Plug it in
Use a reliable USB-C power supply. Do not plug PrintGuardian into the printer USB port. If the printer loses power and comes back, it can try to treat PrintGuardian like an internal device and show a board failure message. Use a separate USB power adapter, powered USB hub, or backup power supply instead.
PrintGuardian does not need to sit beside the printer. It only needs to be on the same network as the printer. Put it somewhere with strong Wi-Fi.
For more detail about safe power and placement, see Powering and positioning PrintGuardian: /article/7-powering-positioning-printguardian
Power button
PrintGuardian normally turns on when USB-C power is connected. If the screen is off, press the small side power button once. If it has been fully powered down, hold the side power button for a few seconds until the screen wakes.
Reset button
For a normal setup reset, use the PrintGuardian app instead of the physical button: open Settings, open the device menu, then choose Reset Device. This clears the saved Wi-Fi, printer, and account pairing, then reboots the unit into setup mode.
The physical reset button is the small recessed reset button or pinhole on the device body. Use it only if the screen is frozen or support asks you to. A restart does not clear settings; a reset does.
Pairing process
Step 1: Open the PrintGuardian app and sign in or create your account.
Step 2: Keep your phone near PrintGuardian and make sure Bluetooth is turned on.
Step 3: In the app, choose Add device or Pair gateway, then start Bluetooth pairing.
Step 4: Allow Bluetooth or Nearby Devices permissions when your phone asks.
Step 5: Tap Scan for gateways.
Step 6: Choose PrintGuardian M5, then tap Connect.
Step 7: Tap Scan Wi-Fi.
Step 8: Choose the Wi-Fi network PrintGuardian should use. Use a strong 2.4 GHz Wi-Fi network.
Step 9: Enter the Wi-Fi password and tap Send to gateway.
Step 10: Wait while PrintGuardian joins Wi-Fi and pairs itself to your account.
Step 11: When the app asks for a printer, make sure the printer is powered on and connected to the same network. The printer can be on Wi-Fi or Ethernet.
Step 12: Tap Scan for printers, choose the printer that appears, then tap Set this printer.
If the printer does not appear, confirm the printer is awake, connected to the same network, and not blocked by guest Wi-Fi or network isolation. You can also enter the printer IP address manually.
After setup
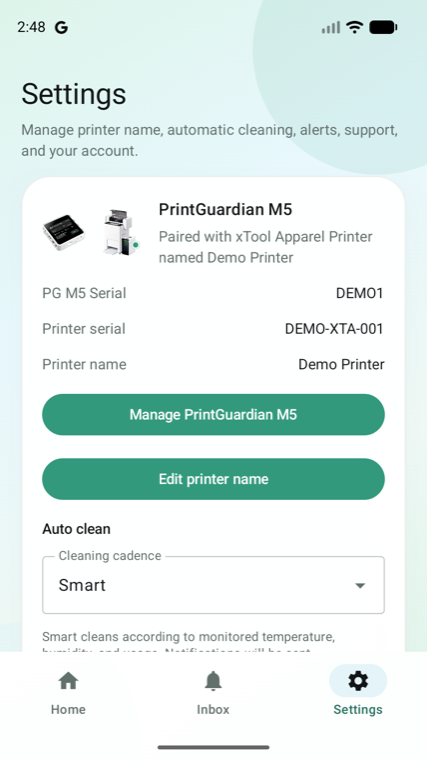
Once pairing is complete, the app should show the gateway online and start showing printer status. You can then set your normal Auto Clean mode, notification preferences, and recommended printer settings.